

1
2
3
4
5
6
7
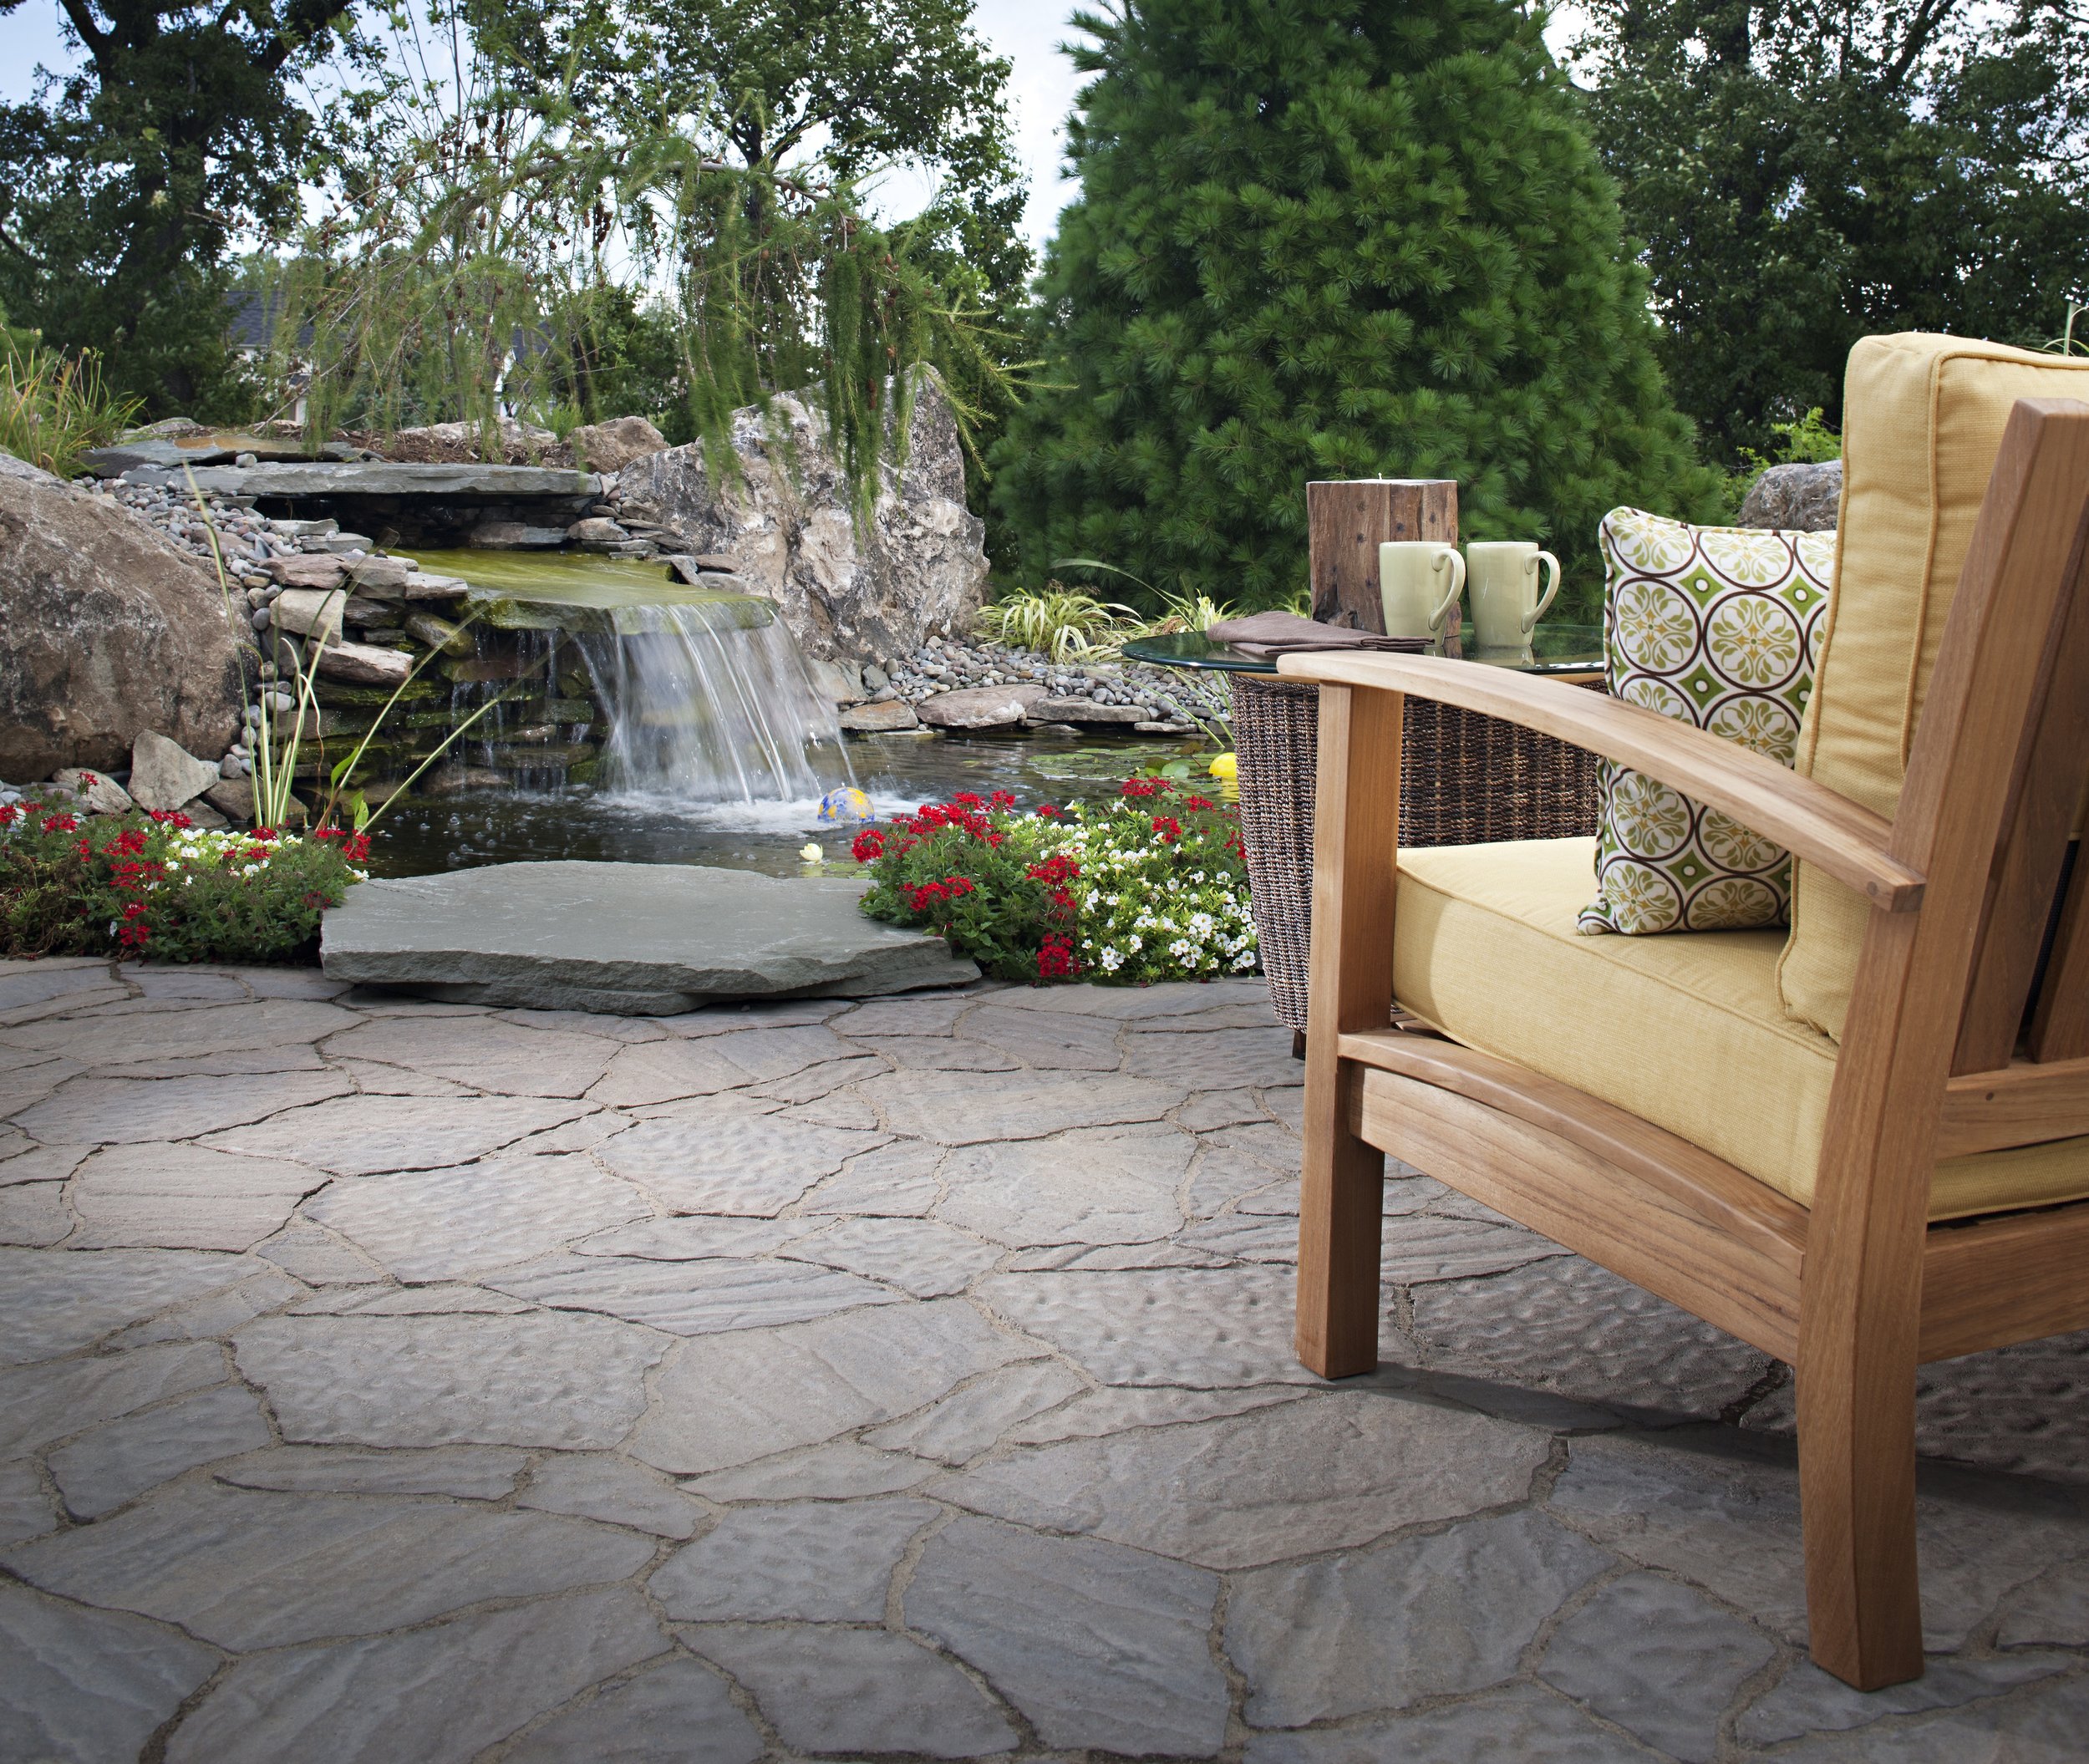
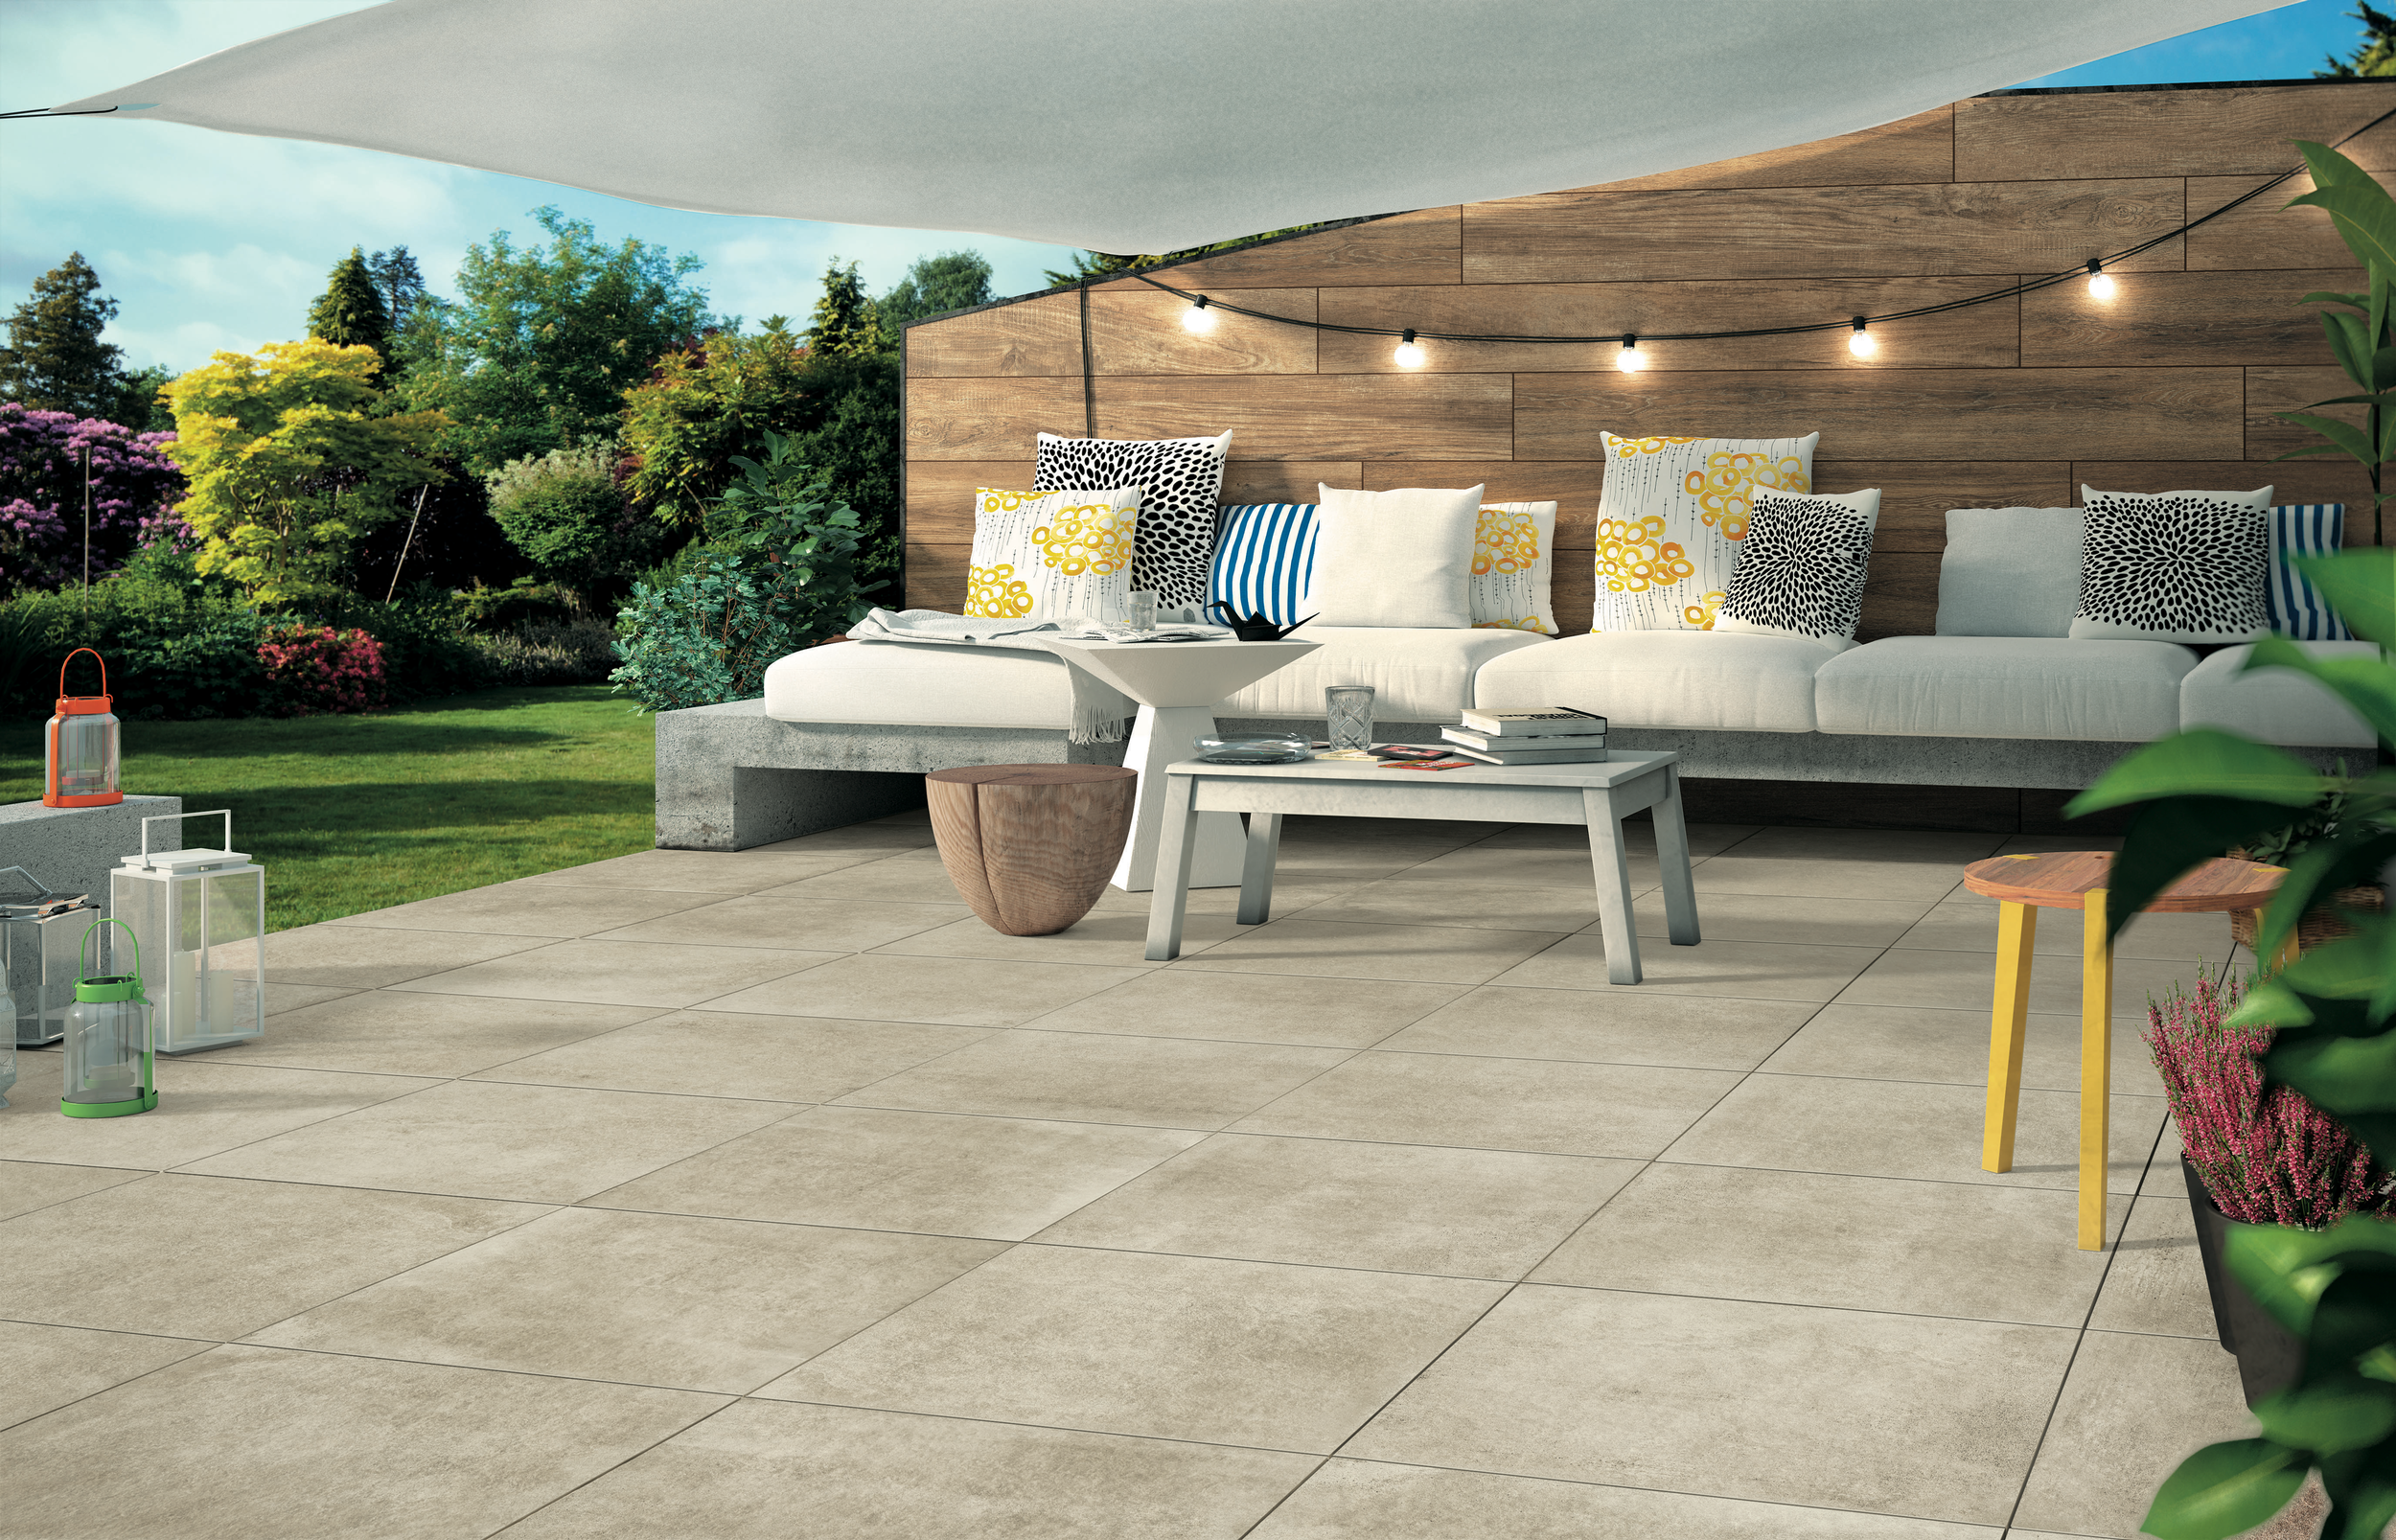
The sunny weather is one of the great things about living in San Diego County and Southern California and what better way to enjoy it than lounging on your patio!
Aviara Pavers creates welcoming outdoor living patios for your San Diego property. Our top San Diego pavers specialists will design your patio to make the most out of your space using first-class materials and equipment.
Reach out to us today to improve your patios! Contact us here or give us a call: 858-299-0500
A professionally installed paver patio will improve your home's style and aesthetics. Whether you choose concrete pavers or porcelain patio tiles, our San Diego pavers designs will let you optimize outdoor space and increase property value.

Turn unused outdoor living spaces into a charming patio for welcoming guests. Also, installing pavers adds durability to your San Diego home structure, giving you more time to savor moments with your loved ones instead of property upkeep.
Aviara Pavers believes in a creative partnership betweenour San Diego pavers specialists and clients. To do so, we commit to a series of steps that elevate our paver services for the benefit of San Diego homeowners.
Consult and Plan: Our San Diego pavers specialists pour meticulous attention into designing the paver patio you deserve. Our San Diego pavers company has a comprehensive design process for you to have a stress-free selection of materials and layout approval.
Style and material selection: Do you prefer an orderly stack bone patio or mesmerizing herringbone paving stones? Are you looking to have a decorative basket weave brick paver patio or classic stretcher bond patio? Either way, our highly skilled San Diego pavers designers will guide you in the selection process to construct the ideal patio for your home.
Excavate: To prepare the construction site and ensure a solid foundation, our licensed San Diego pavers company will excavate the pavement to remove rock, dirt, stumps, and sand.
Apply base material and edge restraints: We will lay out the base material, retaining walls and paver edging to ensure stability during harsh weather or excessive foot traffic.
Add sand bedding: Our San Diego pavers team will reinforce the foundation by adding a layer of bedding sand to ensure the patio won't erode quickly.
Layer pavers and sealing: Our San Diego patio installers will place driveway pavers according to your approved design and pattern. After sealing, all there's left to do is wait at least 48 hours before enjoying your newly constructed patio.
With our Interlocking Concrete Pavement Institute Certification, we continuously educate our designers and installers about interlocking pavers construction, unlike other paver companies. This ensures we only apply industry guidelines to work with greater efficiency.
Perhaps you have limited yard space, and you want a useful outdoor extension. Maybe unlevel yard elevations cause accidents in your home.
Using paver stones in your patios and pool decks is the solution to such dilemmas. Our San Diego pavers designers and installers will work according to your availability. Whether you choose to get a new patio during spring, summer, fall, or winter, we're here to finish the work.

The paver installation cost depends on the materials, property size, and design intricacy. We offer customizable packages to ensure you achieve all of your design requests while using the highest quality of materials.
We can customize your patio pavers or pool deck pavers, even if you want luxurious clay brick or porcelain tiles. Our paver installers can also work with low-cost yet quaint materials such as pea gravel and poured concrete pavers.
At Aviara Pavers, our San Diego pavers designers create unique patio plans that suit your taste and budget. Our masonry experts will carry out the task of installing pavers within the expected timeline.
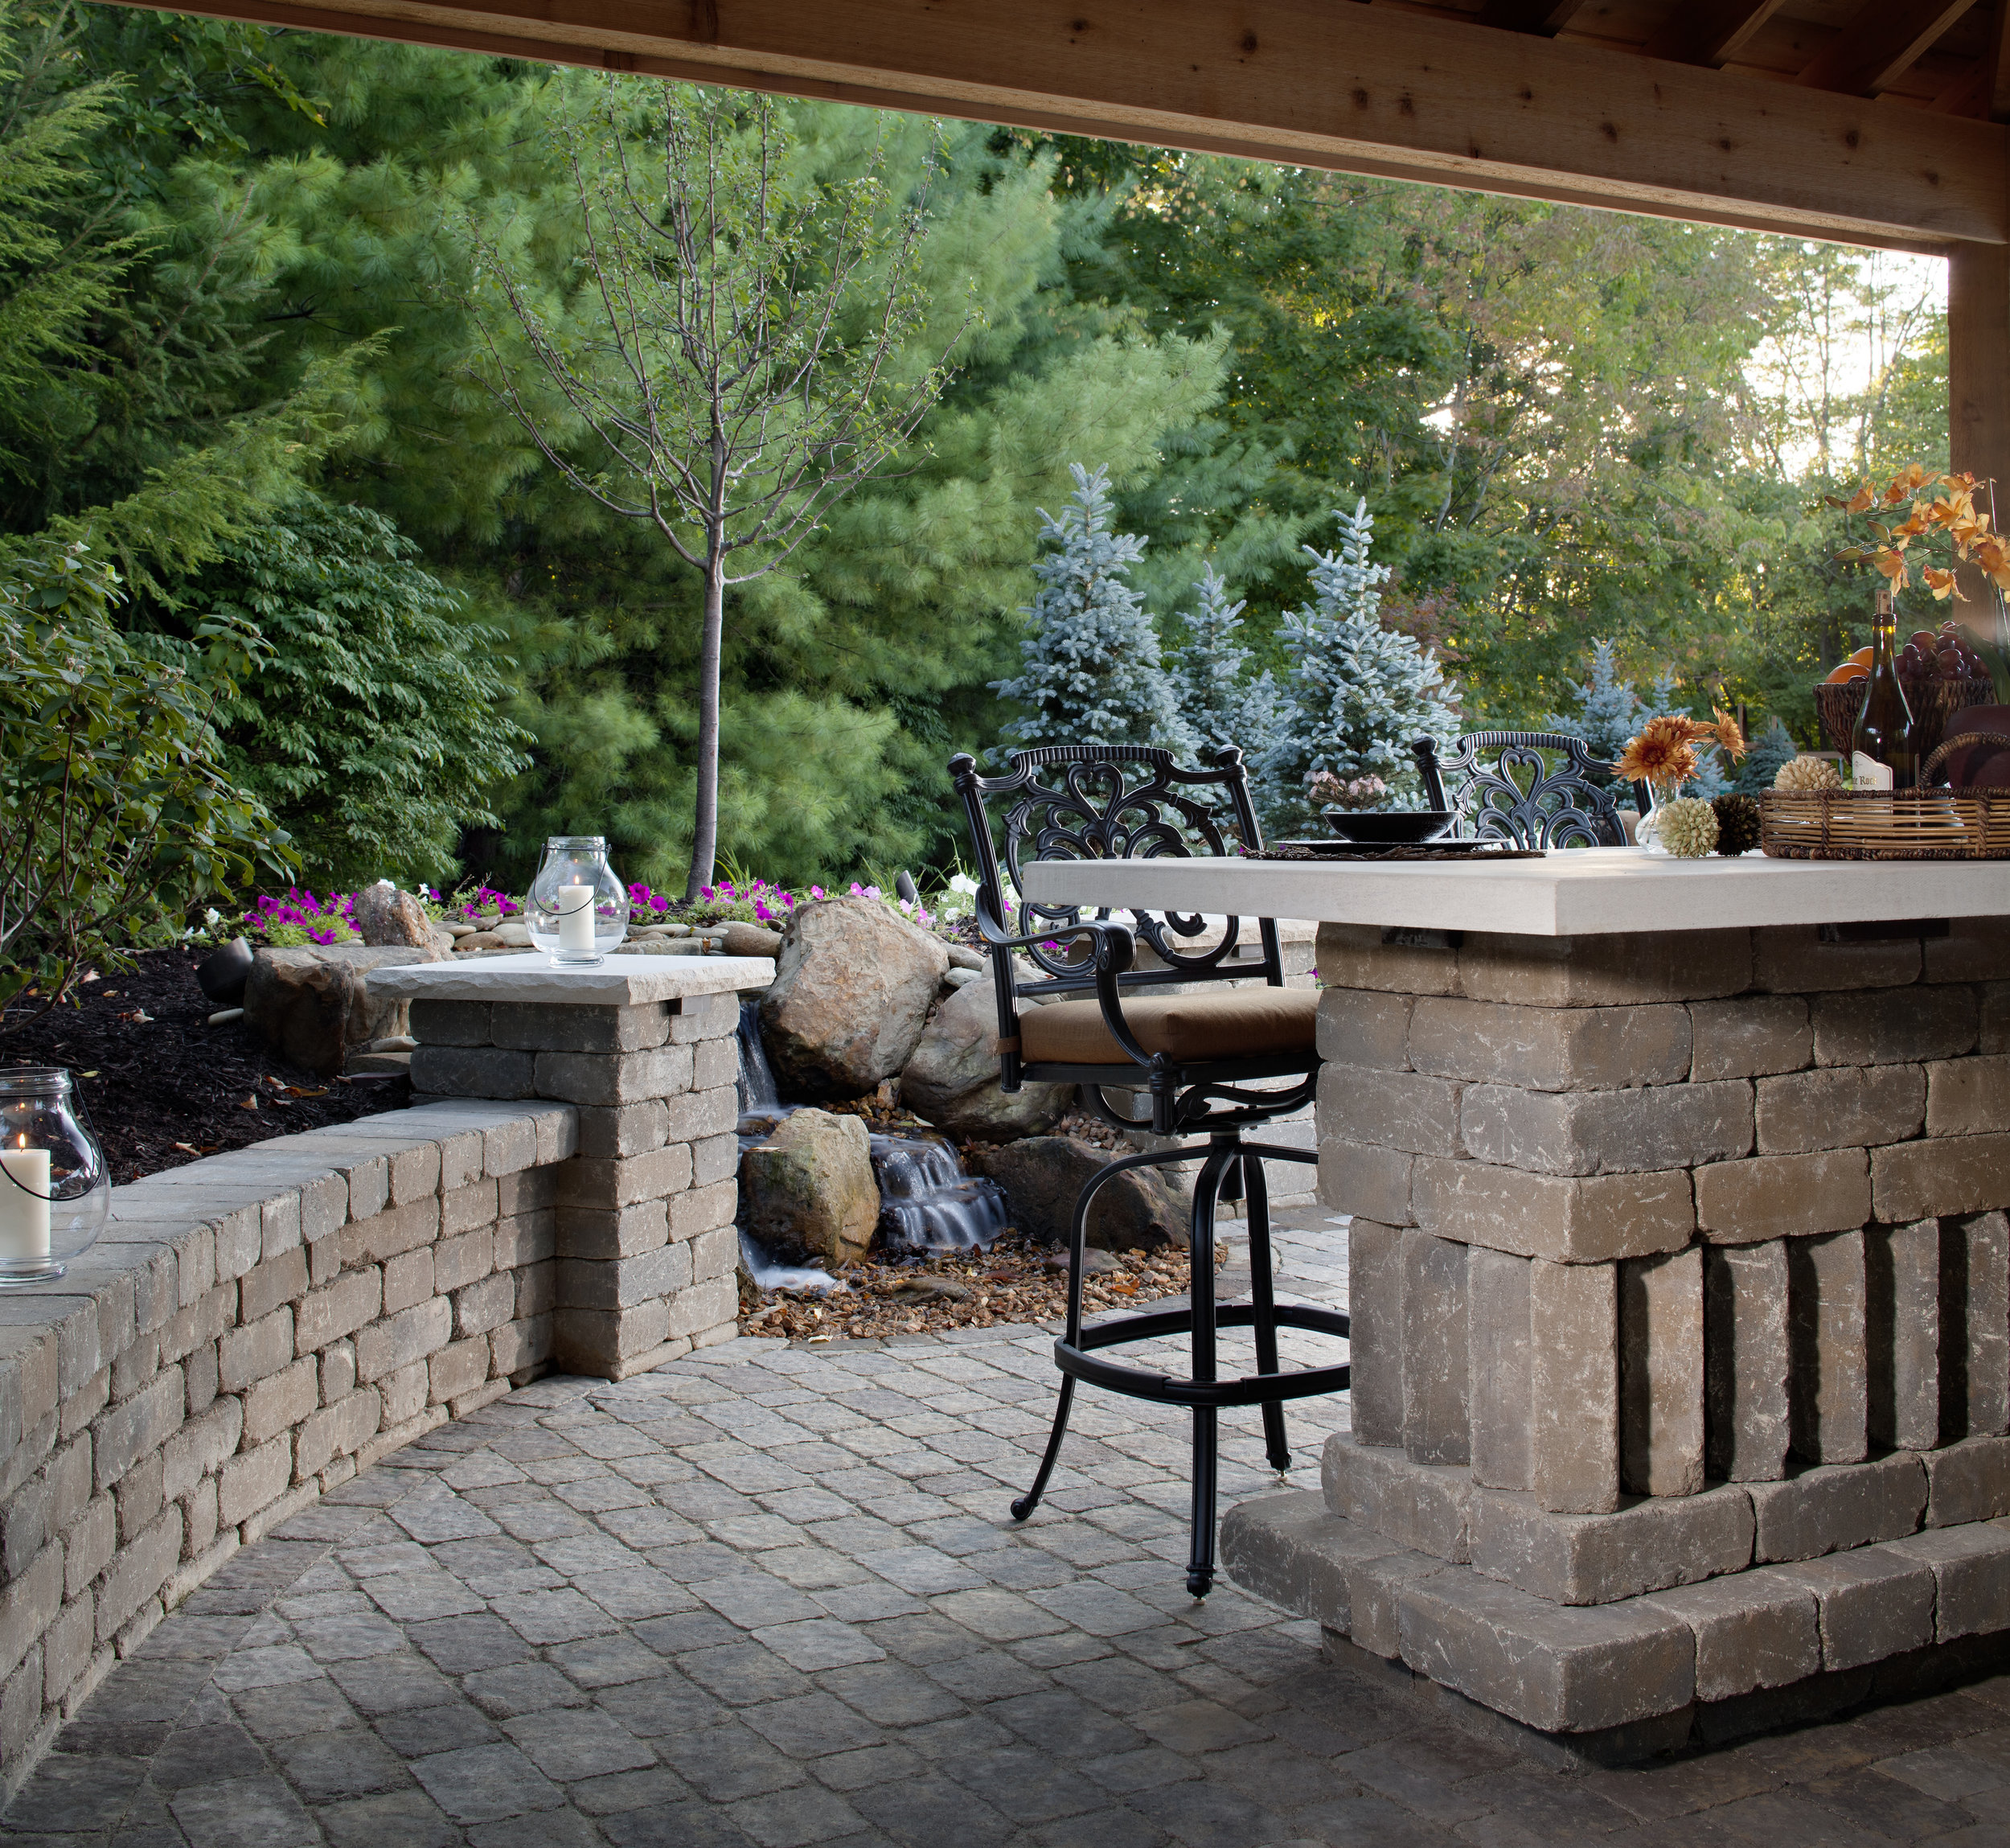
A well designed outdoor living space creates a great first impression, which inturn improves the value of your property. A patio paver design can help transform your outdoor living space into a stylish oasis, allowing you to add a touch of elegance to your property.
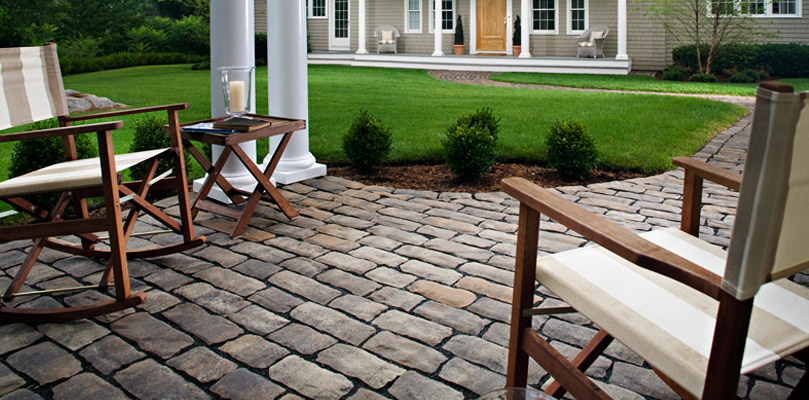
Whether upgrading a concrete paver or starting from scratch, making a patio from pavers will always offer a visually appealing solution. Patio pavers are also easy to install and provide low-maintenance options to homeowners.
At Aviara Pavers, we will help you choose an ideal paving material if you are not sure of one to use. Our business is to ensure you choose an ideal paver material to help you explore innovative ideas that incorporate functionality with an aesthetic design. What are some of the patio paver design ideas?
The shape of a paver can play a vital role on your patio as it helps boost its appearance. Most pavers come in rectangles and squares; however, you can experiment with other shapes, such as octagons, hexagons, or irregular shapes.
These shapes provide a natural look and add a visually captivating element to your patio. Still, you can give your patio a lush and natural feel by complementing the pavers with greenery. Have the area surrounded by plants in pots or any other ideal container.
Another great way of elevating your patio with a captivating mosaic is by using pavers in two different shapes with the same material. Integrate squares and rectangles to create a visually engaging tapestry.
The integration of different shapes in a paver patio is only noticeable when you take a close look. That is why you need to use the same colors despite using different shapes. For example, all the pavers must be white if you decide to go with a white color.
There are many different paver materials you can use to add a visual appeal to your patio. Some of the materials include bricks, natural stones, and travertine. For instance, you may choose brick pavers for a portion of a patio to match the exterior of your home.
You can then use another paver, such as travertine or natural stone, to enhance the beauty of your patio. Always use different sizes of pavers when mixing materials on the paver patio. The size of the bricks should not be the same as that of travertine or concrete paver.

The pattern is another excellent way to design a patio paver to enhance curb appeal. There are different patterns, including herringbone, running bond, or basketweave. The most commonly used pattern is basketweave.
However, you can add intrigue to your patio by laying rectangular brick or concrete pavers in a herringbone pattern. The pattern involves interlocking rectangular pavers at a 45-degree angle for a classic structured look.
At Aviara Pavers, we have professionals who can help you lay these pavers in any pattern you prefer. This will ensure your outdoor living space maintains its beauty and natural look.
You can make your patio sophisticated and unique by adding grass in between the pavers. The grass adds a natural look and promotes a clean and sleek environment.
Always ensure you use large pavers when using this method to enhance the beauty of your patio. You don't want the grass to cover the pavers, rendering them useless.
Instead of small pavers, use large pavers to create a loose patio in your backyard. The advantage of using large pavers is that they are easy to install, and the project consumes less time. They also require less maintenance as sweeping and cleaning them is quick and easy.
Texture is important as it ensures safety and enhances aesthetics. Create a texture by adding pebbles to your poured concrete to reduce slipperiness during wet seasons. The texture also adds visual interest and tactile appeal, creating a more inviting patio.
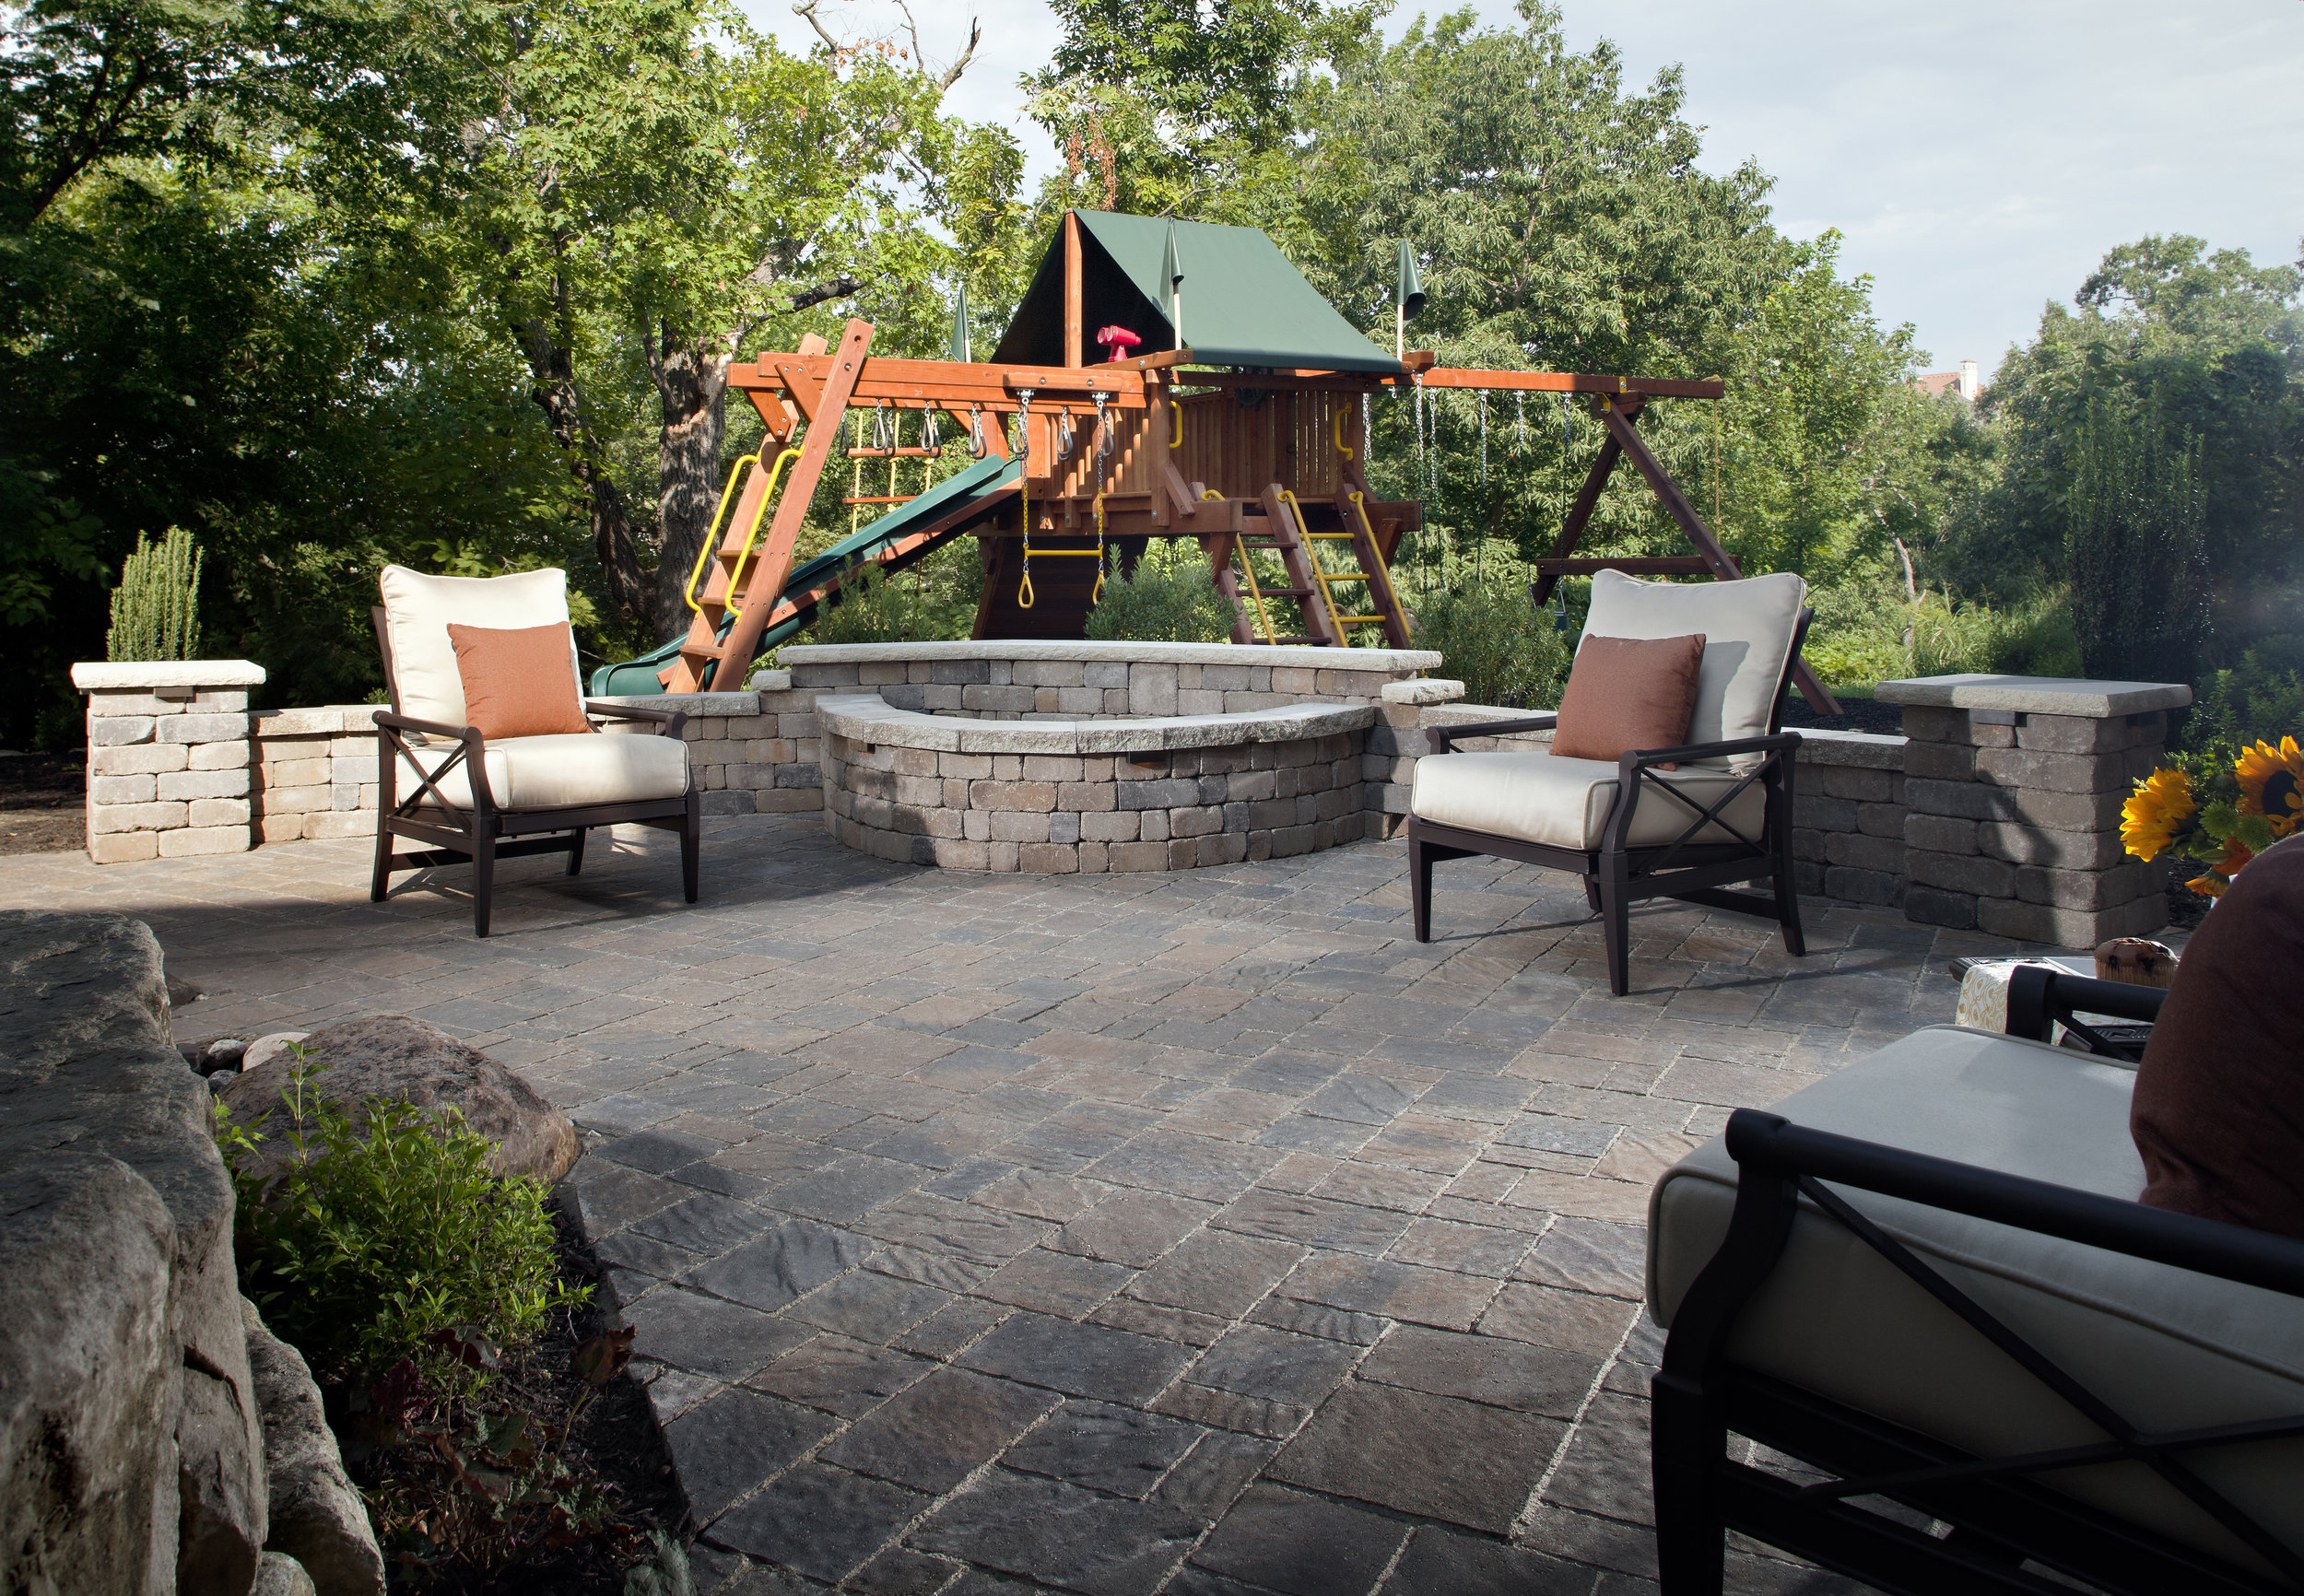
Creating a border on a paved patio has two benefits: enhancing aesthetics and guarding pavers to ensure they remain in their proper position. Therefore, consider creating borders to curb paver shifting, reducing repair costs.
The borders also define the patio’s edges, which allows for creative design elements, enhancing visual interest.
This technique works well with stone pavers as they blend well to create a wonderful visual appeal. When these materials are used together, each plays a vital role. Pavers create a defined space and enhance aesthetics, while gravel provides permeability to ensure proper drainage.
We understand this combination can be challenging to install. That is why Aviara Pavers is here for you. Our professionals will help you pair pavers with gravel and create a combination that will leave a lasting impression.
Having greenery as a patio border comes with many benefits. First, it enhances aesthetics by creating an integration with the surrounding landscape. Secondly, it reduces noise, provides shade, and offers privacy. Therefore, consider bordering your patio with flowers, shrubs, or climbing vines.

Adding a DIY paver patio can be a great way to improve your outdoor living space. The process is easy and requires a few materials to get everything done. Follow these steps to lay pavers on your patio:
You will need the following:
Sand
Shovel
Garden Rake
Spirit level
Hand Tamper
Border stones
Concrete Pavers
Marking Spray Paint
Hose
Push Broom
Measuring Tape
Rubber mallet
Use a measuring tape and spray paint to mark the area where you want the patio to be. This could be behind or in front of the house.
Use your shovel to dig down at least 6 inches. Next, use a garden rack to remove grass, dirt, and debris from the area. The depth accommodates the base, sand, and paver thickness.
Once you have prepared the area and ensured it is flat, roll out a weed blocker material. A weed blocker curbs the growth of weed, which could cause pavers to shift over time. It also prevents pavers from sinking after some time. Ensure the material overlaps to cover the entire area.
Pour a layer of gravel into the excavated area and spread. Next, use a tamper to compact the gravel, creating a stable base.
The next thing is adding a layer of sand to the compacted gravel and rake. Use a tamper again to compact the sand until it becomes flat. Take a spirit and use it to check the level to ensure the area is completely flat.
Finding the center is essential since it is where you will start working as you move toward the perimeter. Use a tape measure to find the center and place a paver there. If possible, mark that paver to avoid confusion.
Start laying your concrete pavers in a pattern you prefer, ensuring they are level. Use a sprit level to check if the pavers are in a level position. Ensure you are leaving a uniform space between the pavers. These spaces will be filled with sand later.
Once you have laid all the pavers, find the marked edges and dig down slightly to create room for border stones. Next, place border stones, ensuring they are in a straight line. The stones should also be in a level position.
After securing the border, add polymeric sand to fill the gaps. Use a broom to spread the sand, ensuring every gap is filled. Next, use a hose pipe to spray the entire area. This allows sand and pavers to set.
Use a plate compactor to compact the entire patio. Compacting helps set the pavers in place and ensure a stable surface.
The next step is cleaning the patio naturally and using an ideal sealer to seal it. Sealing protects pavers from fading, protects from stains, and enhances longevity. That is it; your patio is now ready to use.
But if doing it yourself sounds like too much work, let the experts at Aviara Pavers help you plan and install your new paver patio.
First, we need to wait for 2 to 6 weeks for approvals and permits from your homeowner's association or local council. Depending on the size and complexity of the project, once approval is obtained, it may only take 3 to 5 days to get your pavers installed.
We highly recommend that you seal pavers. Sealing pavers is part of our process to prevent fading and weathering. In this way, it would take about 3 to 4 years before you need to reseal.
Let's put an end to your patio or pool deck woes! Contact us or a free design consultation and receive a complimentary quotation for paver patio designing, paver stone consultation, outdoor living project and other paver project services.